Container
Define a meter to be used as a "container" for the "content" of this meter.
The intent of this is two-fold:
- A meter that has a Container option will in effect be put "inside" the container meter. It will be positioned relative to the container, and will be visibly constrained by it. Only the part of the content that is "inside" the container will be drawn.
Think sliding content, a menu or launcher for instance, into view without needing to start outside the entire skin. - The content will be "masked" into any solid pixels in the container meter. So only the part of the content that is masked into a solid pixel in the container will be drawn.
Think masking an image into a String meter, or an image into a Shape meter.
- Container
Any meter name -
Name of a meter, of any type, to be used as a container for the content of this meter
Example:
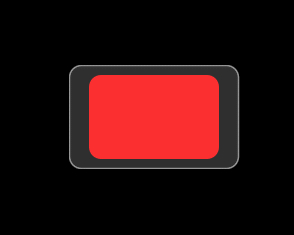
Container=SomeOtherMeter - Content is only drawn within the rectangular W and H boundaries of the container meter.
Content outside the container is truncated, and in effect doesn't exist. - Content is only drawn on solid pixels of the container.
The container meter itself is not drawn, just the content. - Any transparency of both the container and the content is cumulative.
- The first content meter in a container is automatically relative to the top left of the container.
"r" is assumed and "R" is ignored. - Subsequent content meters in a container are relative to each other.
"r" and "R" function normally. - Meters that are not content are relative to the immediately preceding meter that is not content.
- Any meter type can be a container and any meter type can be content.
- Containers may not be "nested".
Usage Notes
VisibilityExamples
While the example code here is for two simple skins that demonstrate using Container, you can download a suite of skins demonstrating several ways to use the funtionality.

Download the .rmskin.
Sliding a "content" meter in and out of a "container" meter.
[Rainmeter] |
Masking an image "content" meter into a string "container" meter.
[Rainmeter] |