New Skin
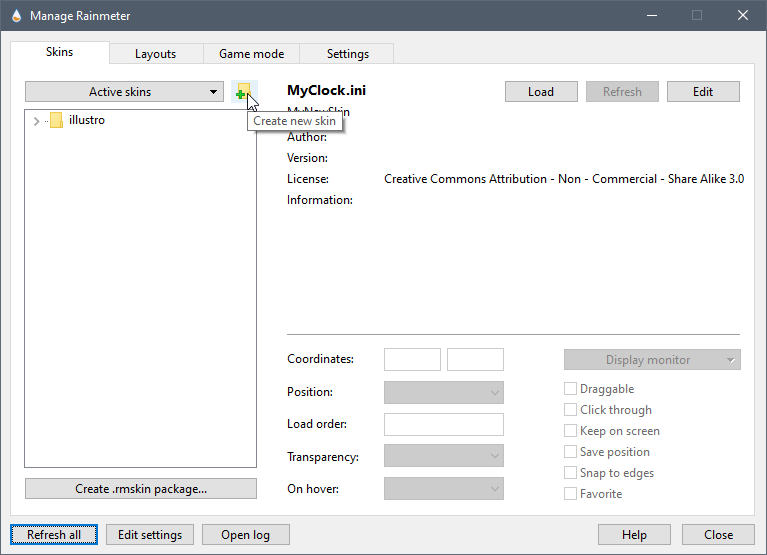
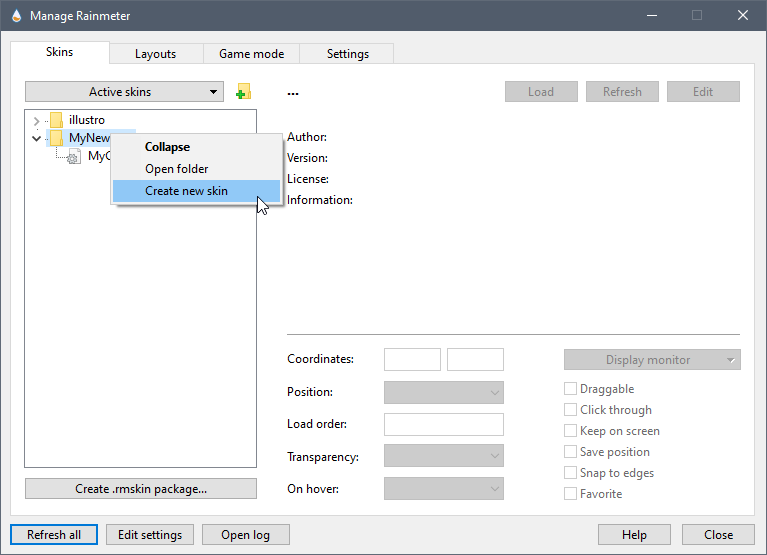
The New Skin dialog is accessed through the Manage interface. It will open a dialog that will allow you to add new skin folders and files to Rainmeter. The dialog is opened by clicking the "Create a new skin" button at the top of the Manage panel, or by right clicking an existing skin folder and selecting "Create a new skin" from the context menu.
Using the button will create a new root-level config folder, and allow you to add sub-folders and skins below that. Using the context menu on an existing skin folder will allow you to add sub-folders and skins below the existing item.
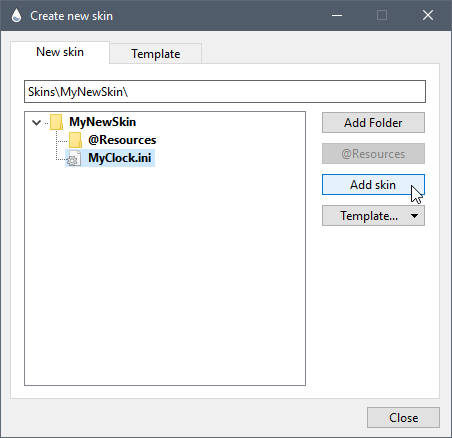
Using the New Skin dialog
Add folder
The Add folder button will create a new folder, prompting you to provide a name.
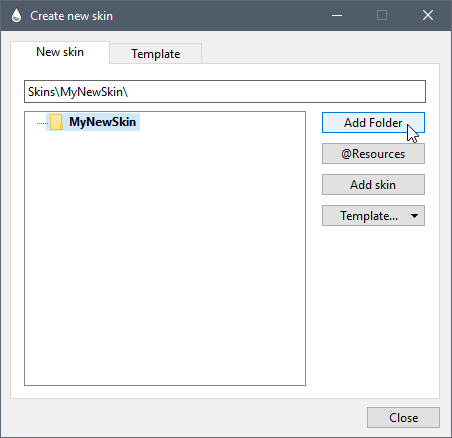
@Resources
The @Resources button will add an @Resources folder under a root-level config folder.
Template
The Template button will allow you to select an existing template file, and any new skin created will use this template. Templates may be created, edited and deleted from the Template tab of the New Skin dialog.

Add skin
The Add skin button will create a new skin .ini file with the name you provide. The file will automatically be encoded as UTF-16 (Unicode) and contain the text in the template file you selected.
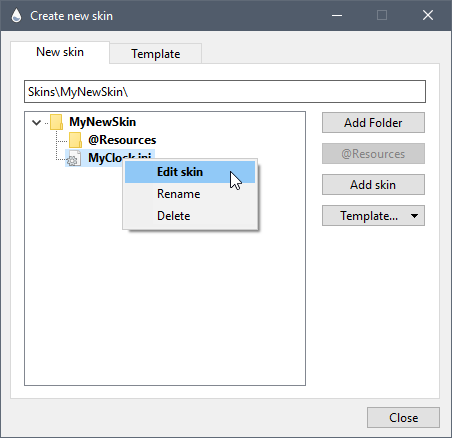
If you change your mind...
You can change the name of any folder or .ini skin file, or delete any folder or file you created by using the context menus in this dialog. Be aware, that this will only be possible on new items you created in this instance of the dialog, and will no longer be available after you "Close" the panel.
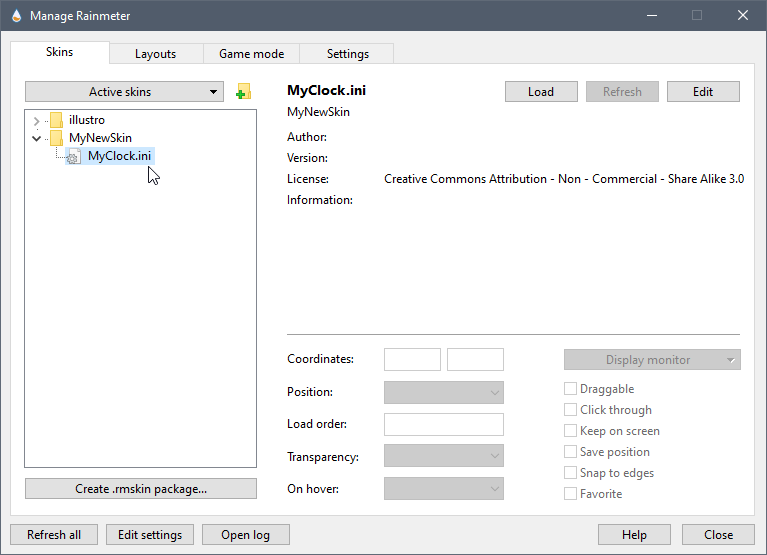
Finishing up...
When you click on the "Close" button in the dialog, the new items will be added to Rainmeter, and a full refresh of the application and all skins will take place. Your new folders and skins will appear in the Skins panel of Manage and are ready to be edited or loaded.
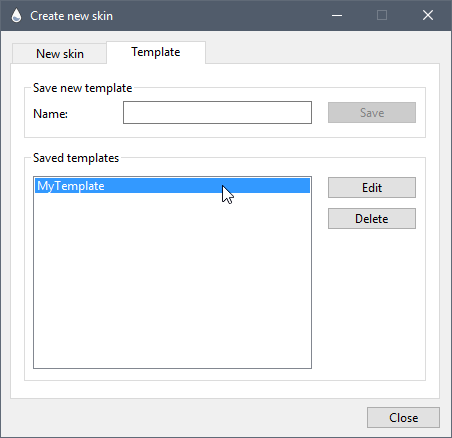
Managing templates
You can add, edit or delete the templates used when new skin .ini files are created using the Templates tab of this dialog.